Today I’d like to share with you about proper braking technique when riding a bicycle. I thought of this because I frequently have customers not using the front brake while test riding a bicycle. I ask them why they are only using one brake, when the bike has two levers, and they inevitably respond that they are worried about going over the handlebars. Too much front brake and you’ll flip, right? Well, yes, but actually no.
While it is true that you can flip the bike by applying too much front brake at once, it’s actually difficult to do if you are braking properly. The front brake is actually your main brake – it provides 70% of your stopping power. By not using it, you are reducing your stopping power to only 30%, which means longer stopping distances and less control. Generally, you want to use both brakes fairly evenly when slowing or stopping. Do not to jam on the brakes – modulate the brakes, squeezing the brake levers progressively harder, not all at once. By modulating the brakes, you make it almost impossible to flip the bike. If you do find yourself going fast and in an emergency stopping situation, you can still avoid going over the bars even grabbing a fistful of brake – stand up, move your weight back, grab the rear level just a moment before the front. With your weight back, you should stop without flipping, even if you have grabbed the front brake very hard. When I’m riding down really steep mountain bike trails, I’ll often find I need to let go of the rear brake and grab the front brake harder because the rear wheel will lock up and start skidding. You don’t want to skid for a couple reasons: one, it tears of the trail; but two, you actually have less control and a greater chance of crashing if you are skidding.
Another pointer on braking: brake before you turn. If you are coming up to a curve or turn, you want to slow down before you get into the turn. You want to try to not be braking while in the curve. Your tires only have a limited amount of traction, and that traction gets split up between braking and steering if they’re doing both at once. In other words, you have less traction for making it through the turn if you are braking during the turn. So slow down ahead of the turn and let the tires have all the traction toward steering when you are in the turn. Too much brake during the turn, front or rear, and you’ll find yourself skidding sideways and laying the bike down.
One more mistake I often see is people setting up their brakes too stiff. They like the lever to barely move before engaging and locking up the wheel. They believe it’s a sign of a strong brake. Well, they are mistaken. When the brake lever barely moves before locking the wheel, it causes two problems. First, it means no modulation, you can’t fine-tune the braking force as needed. You end up more likely to skid and lose control. Second, your fingers are not strongest when stretched way out; so you may not be able to brake hard enough! You want the lever to have some room for modulation. You should be able to bring the lever at least halfway back before locking the wheel. That way you have plenty of room to modulate rather than just having brakes on or off. And if you need to really grab hard on the brake, you’ll be able to do so. We sometimes get customers who want hydraulic brakes set up to have a stiffer lever, but they are usually not designed to be able to do so, because the manufacturer has designed the brake to have the best modulation and power when the lever is able to travel further. And on mechanical brakes, rim or disc, you’ll have more clearance for mud, water, etc. if the brakes are set up properly. With the lever set to have little movement before locking the wheel, the pad has to be so close to the rim or rotor that it will potentially cause other issues in braking performance due to the lack of clearance. On the other extreme, you don’t want the brake so loose that the lever comes all the way back to the grip without locking the wheel.
A note on brake pads: make sure they are in good shape before every ride! Rim brake pads should not be cracked, should be lined up with braking surface on the wheel, and should be thick enough to still have the grooves in the pads for water expulsion. Disc brake pads should still be at least close to 1mm thick (check with the pad manufacturer on proper thickness before replacement). If you are using disc brakes, it is also a good idea to break them in prior to the first ride. To break them in properly, find a flat area, speed up, then just use one brake to bring the bike to stop as quickly as you can while remaining in control and not locking the wheel (modulate!). Do this about 10 times for each brake. This bedding-in process will give you the best performance out the brakes before you go on your first real ride and give you a feel for how the brake responds to input.
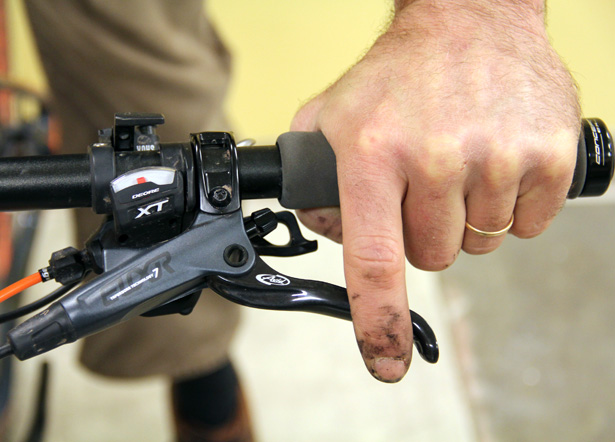
Finally, make sure you can reach the brake lever easily. Most brakes have an adjustable reach. You want to be able to reach the lever comfortably and quickly in case of emergency. Many people benefit by adjusting the brake lever in a little bit from where it comes initially set up, especially if you have smaller hands.
Get Out! Have Fun!
Comments are closed